Of course your box is going to need a working area where all the pots and buttons are located. This could be as simple as a shoe-box (known to be used) or a more advanced solution in metal,wood or plastic. Think of how big you want the box and how you'll be working with it. Are you only using it in your studio or are you going on the road with it too? In that case you should consider making it fit into a 19'' rack for easy transportation.
I made my panel a 5U high and 19'' wide meal plate. It's 1,2 mm thick which is just fine for some heavy and rough use. The dimensions translates into ca 270 mm in height and ca 483 mm in width. After I got hold of a suitable metal plate in the right size I sat down and worked out a design in Illustrator. This is design you can see at the index page, but it actually consists of several parts, among them a hole layout.
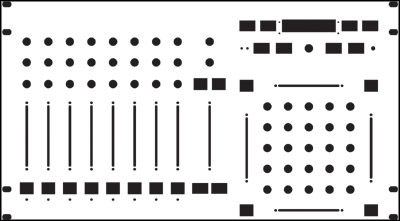
The hole layout in
small scale.
When I felt I had everything in place I took a printout of the design in the actual size of the panel. I had access to a plotter, which was nice because the design is bigger than A3, but if you don't have a print shop nearby or something just print it on several A4 sheets. I then taped the sheet of paper to the metal plate and made sure it was perfectly aligned.
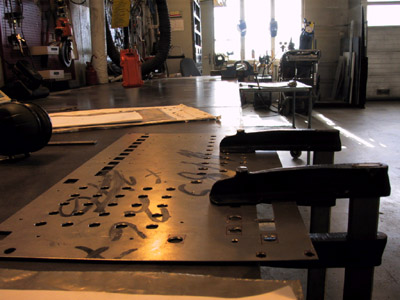
You can spot the piece
of paper behind the panel.
A hammer and an awl was used to make little bumps in the plate just in the centre of each pot circle and in each corner of the button squares. The fader tracks was marked with a bump in each end.
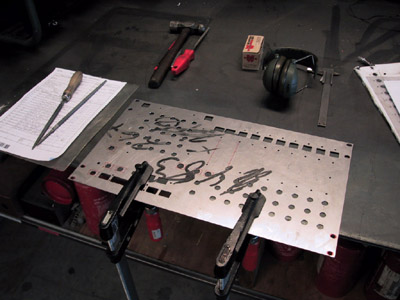
The equipment I used.
The awll is next to the hammer.
The paper was then removed and a drill was used to make all the holes in the metal plate. The squares were then carved out (quite a job, I cant tell you) and the tracks for the faders were cut using a small cutting device.
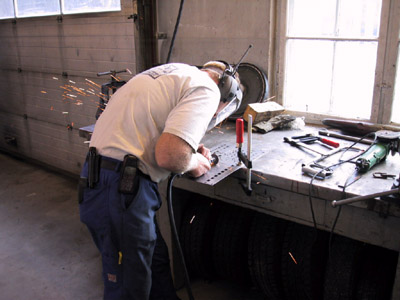
The tracks for the faders are
made. The man on the picture is a friendly worker btw :)
Last of all the edges of the all the holes were trimmed and softened so I wouldn't cut myself later on.
All the tiny bits of
metal that were removed. Prepare for a long days work.
After the panel was finished I painted it with blue spray paint. Originally I planned to print out the design from my Illustrator file, but that was too much work and the kind of paper I would have to use costs a LOT! So I settled for a one colour blue design. Later on I started experimenting with the panel illustration in Photoshop. I realised I could have chosen a much cooler colour than blue, just check these babies out!
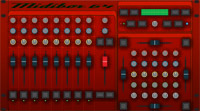
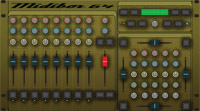
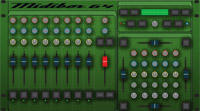
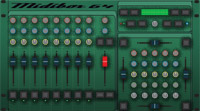
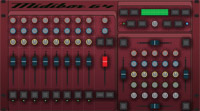
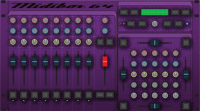
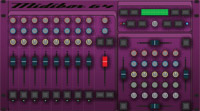
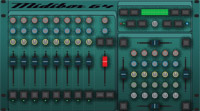
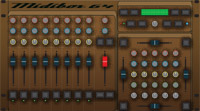
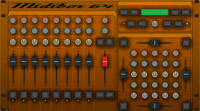
Nice or
what? :)
![]()
Copyright © 2001
Tor Arne Vestbø